Why Use GraphQL
GraphQL is used to build APIs, It's like REST, But the reason why to use GraphQL instead of REST is that in GraphQL you can just give the data and what the user need is up to him/her
Example
Let's just take an example of a simple REST vs GraphQL API
We have a REST endpoint that returns an array of posts from the database, Not A Real Endpoint
https://api.programmingfire.com/posts/
Output:
[
  {
    "title": "post title 1",
    "description": "post description 1",
    "createdAt": 2021-09-13
  },
  {
    "title": "post title 2",
    "description": "post description 2",
    "createdAt": 2021-09-13
  },
  {
    "title": "post title 3",
    "description": "post description 3",
    "createdAt": 2021-09-13
  },
]
But let's just say we only want the title and description of the post but the user can't do that But With GraphQL You Can Do It Let Me Show You
Input:
query {
  posts {
    title
  }
}
Output:
{
  "data": {
    "posts": {
      "data": [
        {
          "title": "post title 1"
        },
        {
          "title": "post title 2"
        },
        {
          "title": "post title 3"
        }
      ]
    }
  }
}
As You Can See We Only Get Title Of Our Posts
Create A New ASP.NET Core Application
We Will Start By Creating A Empty ASP.NET Core Application Using The dotnet CLI. To-Do That Open The Terminal In An Empty Directory And Run The Following Commands:
# Create A New Solution File
dotnet new sln

# Create A New Empty Web API Project
dotnet new web -o GraphQLApi

# Add That To Our Solution
dotnet sln add GraphQLApi
Now Our Project Is Done We Can Test It Now:
# Run The GraphQLApi Project
dotnet run --project GraphQLApi
Now Navigate To localhost:5160 (or whatever URL that it shows you) To See Your "Hello World" Minimal API
Add GraphQL To ASP.NET Core Application
Add the HotChocolate.AspNetCore package
This Package Includes Everything That's Needed To Get Your GraphQL Server Up And Running. To Install It Run The Following Command:
dotnet add GraphQLApi package HotChocolate.AspNetCore
Define the types
Next, we need to define the types our GraphQL schema should contain. These types and their fields define what consumers can query from our GraphQL API. For starters, we can define two object types that we want to expose through our schema.
public class Book
{
    public string Title { get; set; }

    public Author Author { get; set; }
}

public class Author
{
    public string Name { get; set; }
}
Now We Need To Define A Query Type That Exposes The Types We Have Just Created Through A Query In GraphQL.
public class Query
{
    public Book GetBook() =>
        new Book
        {
            Title = "Learn GraphQL For ASP.NET Core",
            Author = new Author
            {
                Name = "Nouman Rahman"
            }
        };
}
The field in question is called GetBook, but the name will be shortened to just book in the resulting schema.
Add GraphQL services
Next, we need to add the services required by Hot Chocolate to our Dependency Injection container.
builder.Services
    .AddGraphQLServer()
    .AddQueryType<Query>();
Now that we've added the necessary services, we need to expose our GraphQL server at an endpoint. Hot Chocolate comes with an ASP.NET Core middleware that is used to serve up the GraphQL server.
app.MapGraphQL();
And this is it - you have successfully set up a Hot Chocolate GraphQL server! 🚀
Executing a query
First off we have to run the project.
dotnet run --project=GraphQLApi
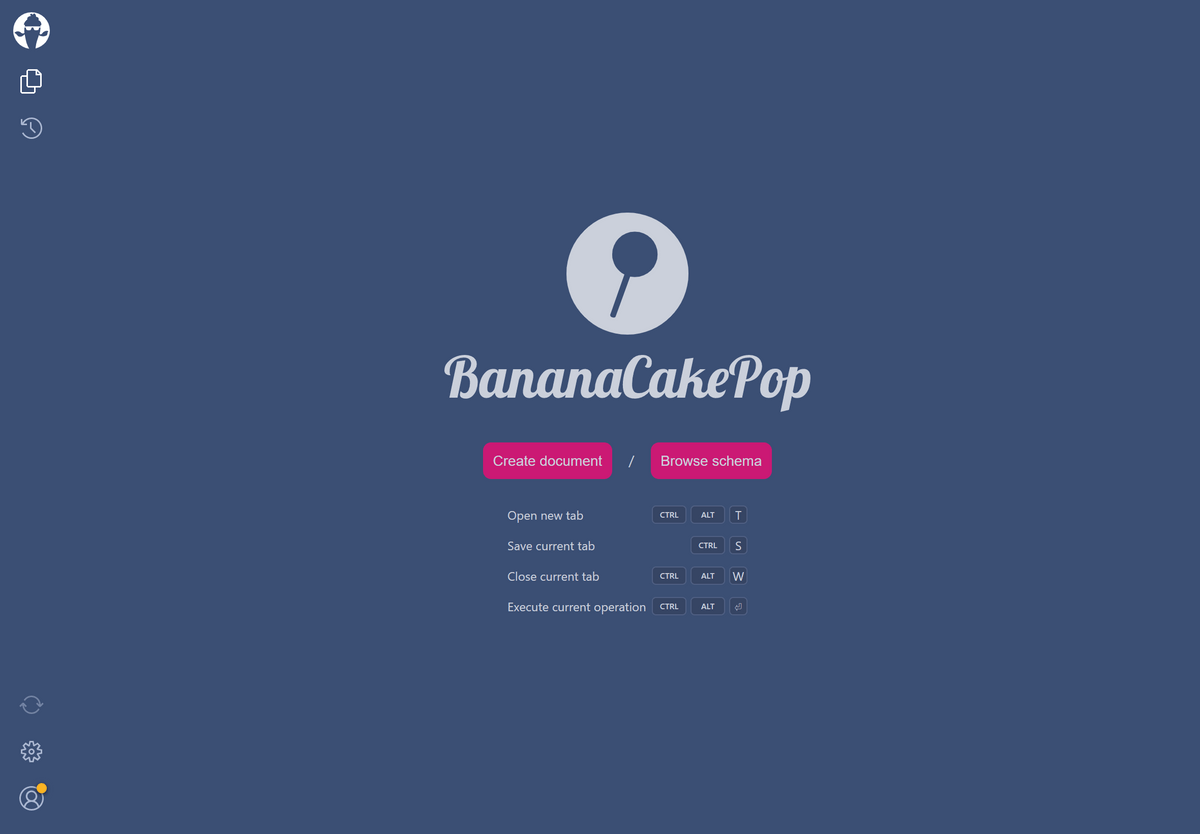
If you have set up everything correctly, you should be able to open localhost:5000/graphql (the port might be different for you) in your browser and be greeted by the GraphQL IDE: Banana Cake Pop.

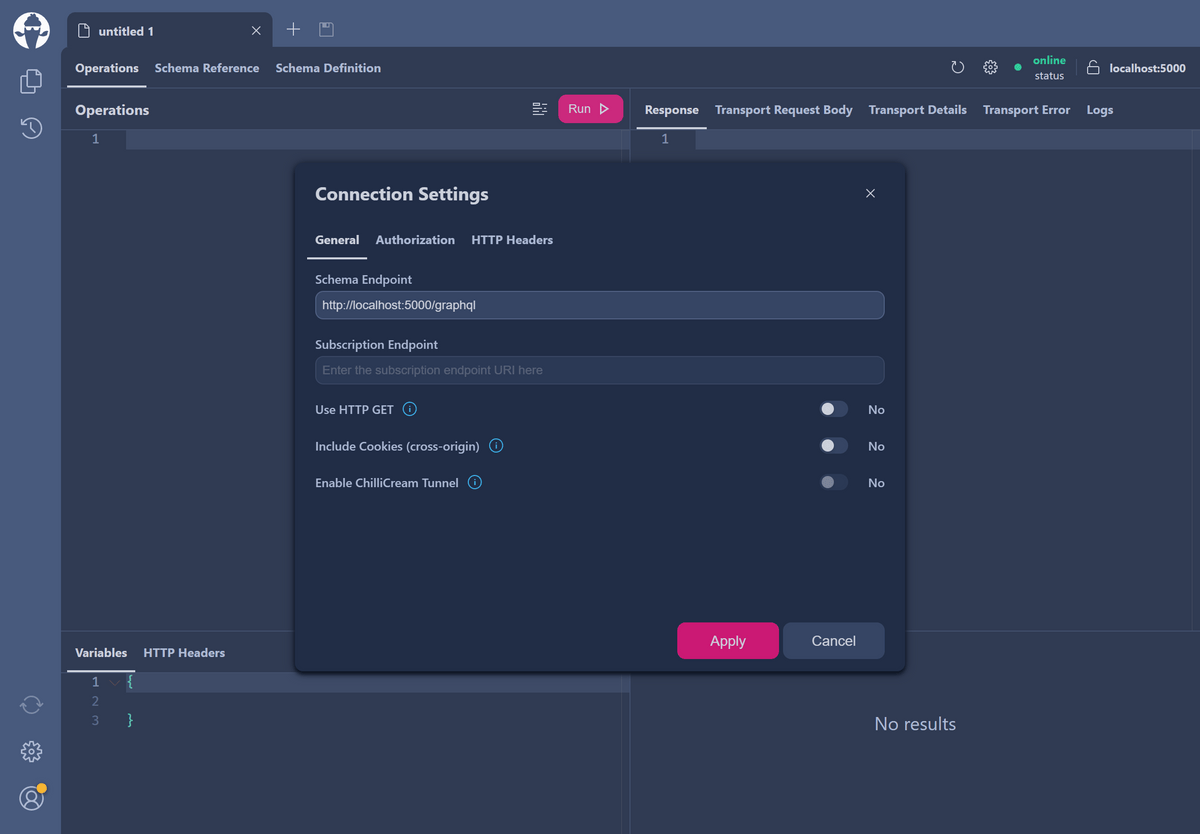
Next click on "Create document". You will be presented with a settings dialog for this new tab, pictured below. Make sure the "Schema Endpoint" input field has the correct URL under which your GraphQL endpoint is available. If it is correct you can just go ahead and click the "Apply" button in the bottom right.

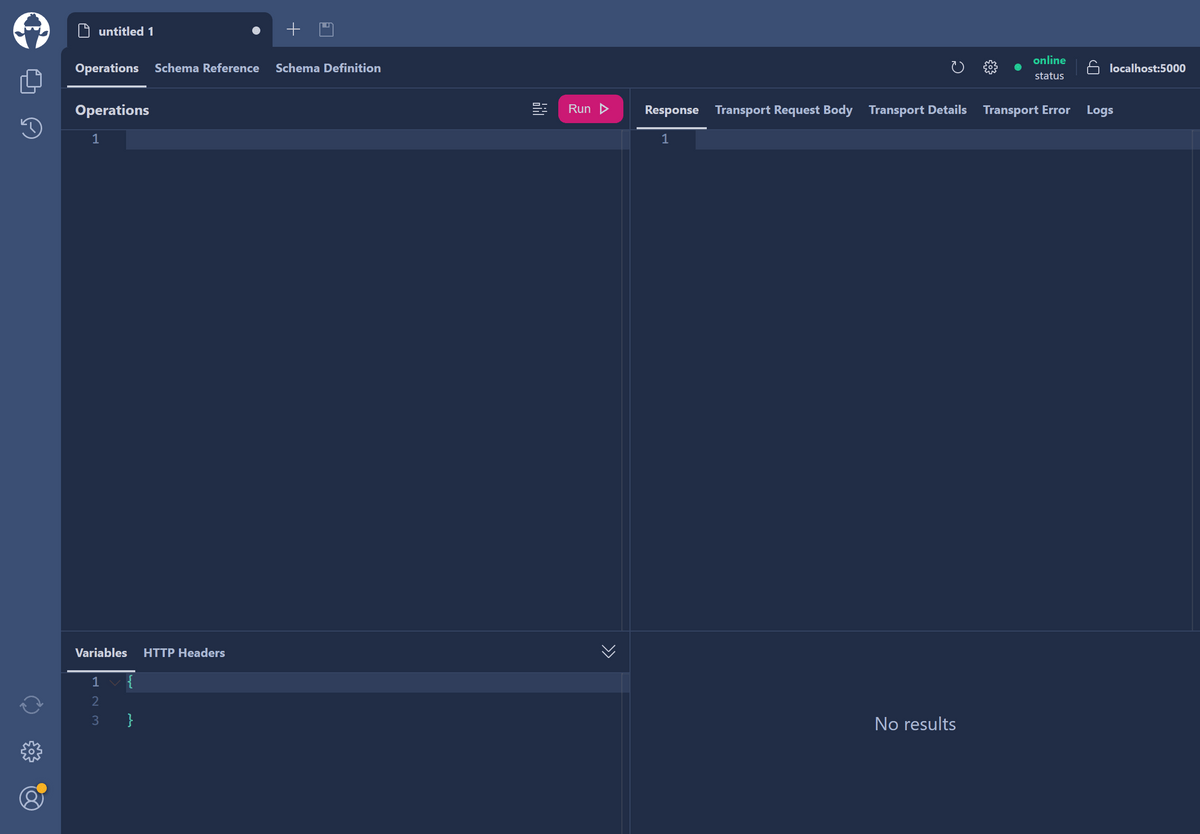
Now you should be seeing an editor like the one pictured below. If your GraphQL server has been correctly set up you should be seeing a green "online" in the top right corner of the editor.

The view is split into four panes. The top-left pane is where you enter the queries you wish to send to the GraphQL server - the result will be displayed in the top-right pane. Variables and headers can be modified in the bottom left pane and recent queries can be viewed in the bottom right pane.
Okay, so let's send a query to your GraphQL server. Paste the below query into the top left pane of the editor:
query {
  book {
    title
    author {
      name
    }
  }
}
To execute the query, simply press the "Run" button. The result should be displayed as JSON in the top-right pane as shown below:
{
  "data": {
    "book": {
      "title": "Learn GraphQL For ASP.NET Core",
      "author": {
        "name": "Nouman Rahman"
      }
    }
  }
}
Congratulations, you've built your first Hot Chocolate GraphQL server and sent a query using the Banana Cake Pop GraphQL IDE 🎉🚀
Next Steps
Learn more about HotChocolate in ASP.NET
Fetch data in your Blazor applications using Strawberry Shake
